本文将介绍在 Identity 框架中如何使用 Sang.AspNetCore.RoleBasedAuthorization[1] 库。
核心介绍
Identity 和 jwt 的基本配置我们在这里不再赘述,可以参考最后的项目样例。核心的代码主要为 IRolePermission 的实现。.
internal class MyRolePermission : IRolePermission{private readonly IMemoryCache _memoryCache;private readonly RoleManager<MyRole> _roleManager;private readonly string cachekey = "Role_Permission_";public MyRolePermission(IMemoryCache memoryCache, IServiceProvider _sp){_memoryCache = memoryCache;_roleManager = _sp.CreateScope().ServiceProvider.GetRequiredService<RoleManager<MyRole>>();}public async Task<List<Claim>> GetRolePermissionClaimsByName(string roleName){var claims = await _memoryCache.GetOrCreateAsync(cachekey + roleName, async (e) =>{e.AbsoluteExpirationRelativeToNow = TimeSpan.FromSeconds(3600);e.SlidingExpiration = TimeSpan.FromMinutes(10);//10分钟滑动过期var myrole = await _roleManager.FindByNameAsync(roleName);if (myrole is null) return new List<Claim>();var list = await _roleManager.GetClaimsAsync(myrole);return list;});return claims.ToList();}}
这里需要注意的是 IRolePermission 是 Singleton 单例模式,服务在第一次请求时被创建,其后的每次请求都沿用这个已创建的服务。而 RoleManager 是 Scoped 作用域模式,服务在每次请求时被创建,整个请求过程中都贯穿使用这个创建的服务。所以在 MyRolePermission 中因为其生命周期不同,无法直接注入使用。
使用展示
完整的代码可以查看仓库 https://github.com/sangyuxiaowu/IdentityRBAC
克隆仓库后修改 Program.cs L45 的数据库相关配置,然后迁移 Update-Database 运行项目。
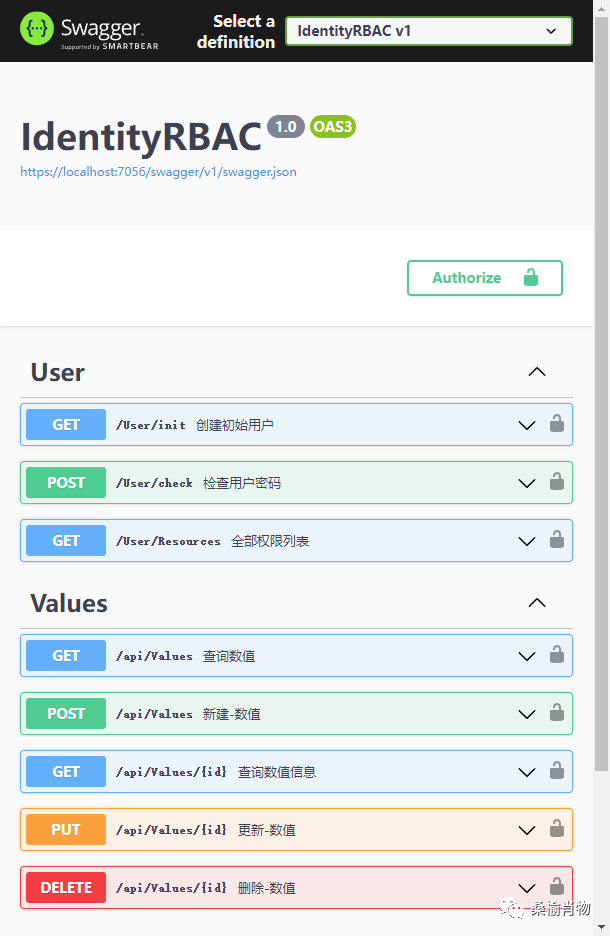
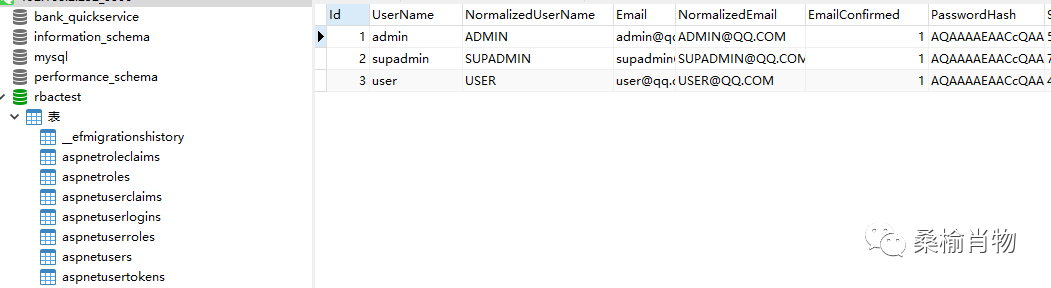
访问/User/init创建初始用户和角色。admin,user,supadmin,其密码均为123456。
然后通过/User/check检查用户密码,获取access_token,然后更换不同的用户来测试 Values 这个 Controller 的资源访问。
最后
本文相关仓库感兴趣的同学可以查阅: https://github.com/sangyuxiaowu/IdentityRBAC
如有错漏之处,敬请指正。
