当我们刚开始使用MVVM模式的时候和传统CodeBehind相比会遇到很多问题,但是肯定是有解决方法,我们应该尽量往这个方向思考,下面我们通过一个例子来演示如何在不同View之间进行切换,这节我们通过一个简单例子来实现导航,基本的项目结构如下:
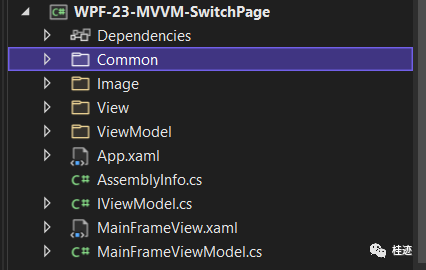
我们新建一个Common文件夹,创建DelegateCommand和ViewModelBase类两个基础类.
using System;using System.Windows.Input;namespace WPF_23_MVVM_SwitchPage.Common{public class DelegateCommand : ICommand{private Action<object> _execute;private Func<bool> _canExecute;public DelegateCommand(Action<object> executeMethod){_execute = executeMethod;}public DelegateCommand(Action<object> executeMethod, Func<bool> canExecute): this(executeMethod){this._canExecute = canExecute;}public event EventHandler? CanExecuteChanged;public bool CanExecute(object parameter){return true;}public void Execute(object parameter){_execute?.Invoke(parameter);}}}
using System;using System.ComponentModel;using System.Runtime.CompilerServices;namespace WPF_23_MVVM_SwitchPage.Common{public class ViewModelBase : INotifyPropertyChanged{#region INotifyPropertyChanged Memberspublic event PropertyChangedEventHandler? PropertyChanged;public virtual void NotifyPropertyChanged([CallerMemberName] String propertyName = ""){PropertyChanged?.Invoke(this, new PropertyChangedEventArgs(propertyName));}#endregion}}
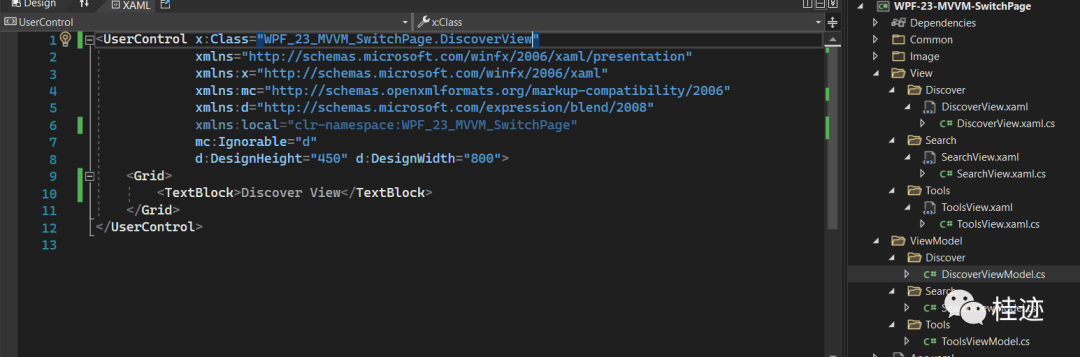
我们定义一个接口IViewModel,分别让三个ViewModel实现该接口
namespace WPF_23_MVVM_SwitchPage{public interface IViewModel{string Name { get; }}}
public class DiscoverViewModel : ViewModelBase, IViewModel{public string Name => "Disconver";}
public class SearchViewModel : ViewModelBase, IViewModel{public string Name => "Search";}
public class ToolsViewModel : ViewModelBase, IViewModel{public string Name => "Tool";}
public class MainFrameViewModel : ViewModelBase{private ICommand _changeViewCommand;private IViewModel _currentViewModel;private List<IViewModel> _viewModels;public MainFrameViewModel(){_viewModels = new List<IViewModel>();ViewModels.Add(new SearchViewModel());ViewModels.Add(new DiscoverViewModel());ViewModels.Add(new ToolsViewModel());_changeViewCommand = new DelegateCommand(ChangeView);_currentViewModel = ViewModels[0];}public ICommand ChangeViewCommand{get { return _changeViewCommand; }set { _changeViewCommand = value; }}public List<IViewModel> ViewModels{get{return _viewModels;}set{_viewModels = value;}}public IViewModel CurrentViewModel{get{return _currentViewModel;}set{if (_currentViewModel != value){_currentViewModel = value;NotifyPropertyChanged("CurrentViewModel");}}}public void ChangeView(object parameter){var viewModel = (IViewModel)parameter;if (!ViewModels.Contains(viewModel))ViewModels.Add(viewModel);CurrentViewModel = ViewModels.FirstOrDefault(vm => vm == viewModel);}}
<Window x:Class="WPF_23_MVVM_SwitchPage.MainFrameView"xmlns="http://schemas.microsoft.com/winfx/2006/xaml/presentation"xmlns:x="http://schemas.microsoft.com/winfx/2006/xaml"xmlns:d="http://schemas.microsoft.com/expression/blend/2008"xmlns:mc="http://schemas.openxmlformats.org/markup-compatibility/2006"xmlns:local="clr-namespace:WPF_23_MVVM_SwitchPage"mc:Ignorable="d"Title="MainFrameView" Height="450" Width="800"><Window.Resources><DataTemplate DataType="{x:Type local:SearchViewModel}"><local:SearchView /></DataTemplate><DataTemplate DataType="{x:Type local:DiscoverViewModel}"><local:DiscoverView /></DataTemplate><DataTemplate DataType="{x:Type local:ToolsViewModel}"><local:ToolsView/></DataTemplate></Window.Resources><DockPanel><Border DockPanel.Dock="Left" BorderBrush="Black" BorderThickness="0,0,1,0"><ItemsControl ItemsSource="{Binding ViewModels}"><ItemsControl.ItemTemplate><DataTemplate><Button Content="{Binding Name}"Command="{Binding DataContext.ChangeViewCommand, RelativeSource={RelativeSource AncestorType={x:Type Window}}}"CommandParameter="{Binding }"Margin="5,5" Width="60" Height="34"/></DataTemplate></ItemsControl.ItemTemplate></ItemsControl></Border><ContentControl Content="{Binding CurrentViewModel}" /></DockPanel></Window>
public partial class App : Application{protected override void OnStartup(StartupEventArgs e){base.OnStartup(e);MainFrameView app = new MainFrameView();MainFrameViewModel context = new MainFrameViewModel();app.DataContext = context;app.Show();}}
到此代码基本完成,我们看一下效果:

