前言:表单编辑页面,这个在系统中非常的常见,基本每一张业务表都要有一个查询页面以及编辑页面,但其实很多时候,系统的业务并不复杂,表结构也比较简单,如果每个都去创建一个页面,然后拖控件上去,未免觉得麻烦了些(也可以考虑通过代码生成器来解决);我写代码主要突出一个简洁(懒),所以这里写一个公共的输入窗体,只要传入参数进去即可,当然美观度以及自定义程度要差一点(因为用的都是原生控件,但如果用第三方控件,如DEV等,可以在页面手动排版并保存,效果会很好多);.
-
首先定义一个传入参数的类,分别传入两个控件,
Label和一个随便什么输入控件。但是为了方便使用,所以增加了一个构造函数,会默认生成一个Label和一个TextBox,这也是使用的最多的情况。这里使用控件传入的方式还有一个优点是自定义程度较高,可以默认传值、改变样式等。public class InputModel{public Label lable { get; set; }public Control control { get; set; }public InputModel(Label _lable, Control _control){lable = _lable;control = _control;control.Tag = "Input" + lable.Text;}public InputModel(string text, Control _control) : this(new Label { Text = text }, _control){}public InputModel(string text) : this(new Label { Text = text }, new TextBox()){}}
-
然后构造我们的表单输入窗体,设计页面主要采用
FlowLayoutPanel来进行布局。一行一个控件,如果想yi如果想一行多个控件,可以考虑使用FlowLayoutPanel.SetFlowBreak方法,同时请把握后控件的大小
public partial class FormInput : Form{readonly List<InputModel> InputList = new List<InputModel>();public Dictionary<string, object> Value { get; private set; }public FormInput(List<InputModel> inputList){InitializeComponent();InputList = inputList;}private void FormInput_Load(object sender, EventArgs e){foreach (var inputModel in InputList){inputModel.lable.Margin = new Padding(0, 15, 0, 0);panel_main.Controls.Add(inputModel.lable);inputModel.control.Width = panel_main.Width - panel_main.Padding.Left - panel_main.Padding.Right;panel_main.Controls.Add(inputModel.control);}}private void btn_ok_Click(object sender, EventArgs e){Value = new Dictionary<string, object>();foreach (Control control in panel_main.Controls){string tag = Convert.ToString(control.Tag);if (tag.StartsWith("Input")){if (control is TextBox){Value.Add(tag.Substring(5), control.Text);}else if (control is ComboBox){Value.Add(tag.Substring(5), ((ComboBox)control).SelectedValue);}}}DialogResult = DialogResult.OK;}private void btn_cancel_Click(object sender, EventArgs e){DialogResult= DialogResult.Cancel;}private void FormInput_Paint(object sender, PaintEventArgs e){ControlPaint.DrawBorder(e.Graphics, this.ClientRectangle,Color.White, 1, ButtonBorderStyle.Solid, //左边Color.White, 1, ButtonBorderStyle.Solid, //上边Color.White, 1, ButtonBorderStyle.Solid, //右边Color.White, 1, ButtonBorderStyle.Solid);//底边}}
-
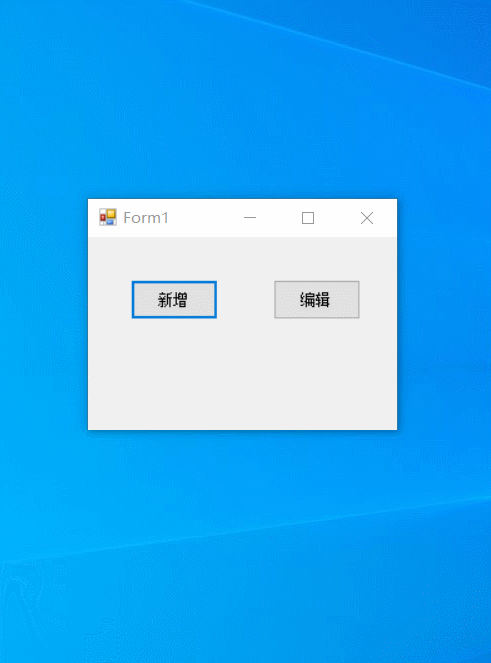
调用下看看效果
private void button1_Click(object sender, EventArgs e){List<InputModel> InputList = new List<InputModel>();InputList.Add(new InputModel("姓名"));InputList.Add(new InputModel("年龄"));FormInput form = new FormInput(InputList);if (form.ShowDialog() == DialogResult.OK){var value = form.Value;MessageBox.Show($"姓名:{value["姓名"]}\r\n年龄:{value["年龄"]}");}}private void button2_Click(object sender, EventArgs e){List<InputModel> InputList = new List<InputModel>();InputList.Add(new InputModel("姓名",new TextBox { Text="张三"}));InputList.Add(new InputModel("年龄",new TextBox { Text = "18" }));FormInput form = new FormInput(InputList);if (form.ShowDialog() == DialogResult.OK){var value = form.Value;MessageBox.Show($"姓名:{value["姓名"]}\r\n年龄:{value["年龄"]}");}}
实现效果:
最后,这当然只是一个比较基本的操作,有的需要加入数据校验等操作,建议可以增加一个委托参数,在确定按钮的时候进行处理。
