在之前的文章中,我会把代码也贴进去。不过有读者问我是否能将项目源文件分享出来。
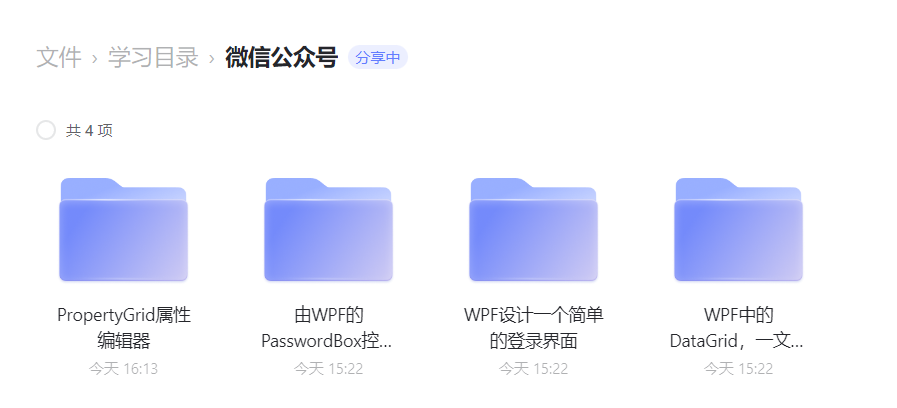
我想了一下,确实也需要整理一下之前写过的演示代码,方便大家拿去参考。日后会慢慢的添加进去。.
https://www.aliyundrive.com/s/wwmPYgdvqap提取码: ky83
下面开始今天的内容。
现在的生活工作中,我们使用很多的程序。
为了更好的使用这些程序,我们往往需要做一些设置。对于程序而言,很多的设置参数,其实就是代码中的属性。
有些设置需要程序重启才能改变,因为代码初始化就需要使用这些属性值。有些则可以在程序运行中就能改变。
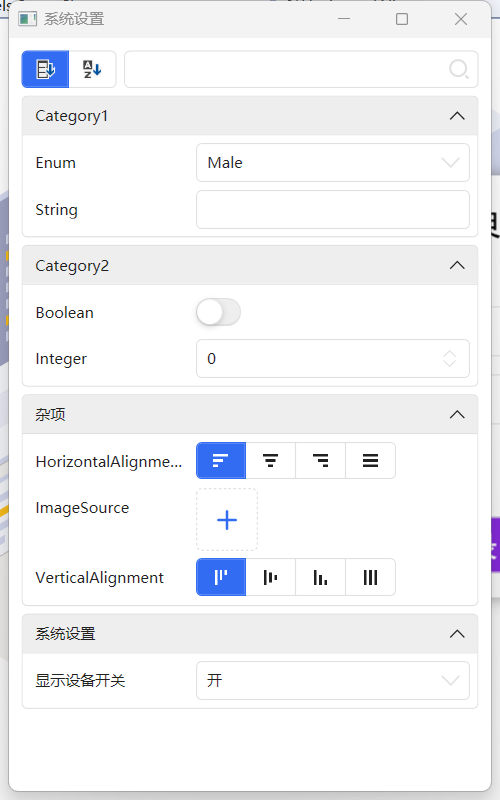
将属性交给用户设定,就需要能够直观的显示出来。可以借用属性编辑器:PropertyGrid。
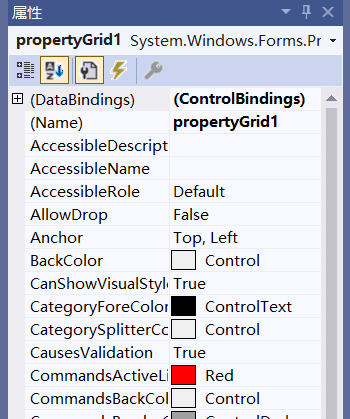
Winform里面带有PropertyGrid控件,直接拖进去就可以使用。
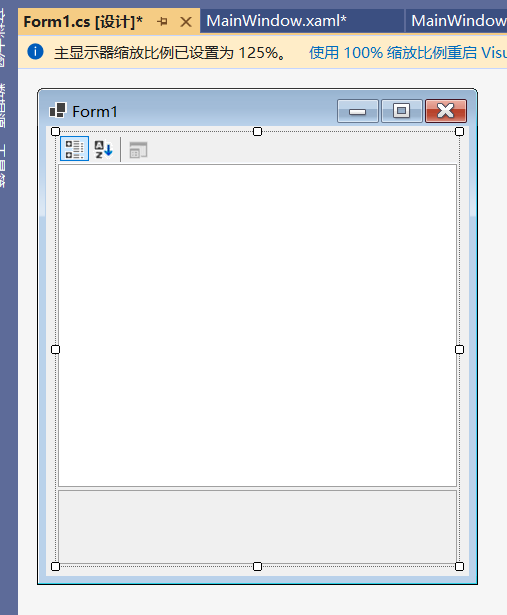
PropertyGrid的控件看起来非常熟悉。因为我们使用Visual studio,属性窗口就是这么一回事。
而这里并不打算使用Winform讲解,而是使用WPF。Wpf需要借助第三方控件库,才能使用PropertyGrid。我们这里依旧使用HandyControl。
为了方便,就用之前的一个登录界面的项目做演示,添加一个设置窗体。

第一步,我们增加一个设置按钮。图标我已经找好了,在iconfont.ttf文件中。
我就把这个按钮新建到这里,如果你们想放到其他地方,也可以。
<Button Content="" FontFamily="/Resources/Fonts/#iconfont" FontSize="25" Height="auto" BorderThickness="0"/>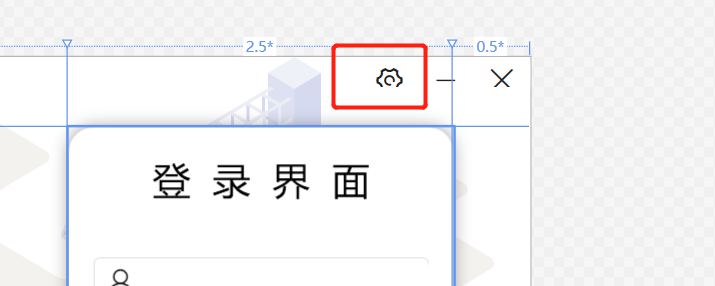
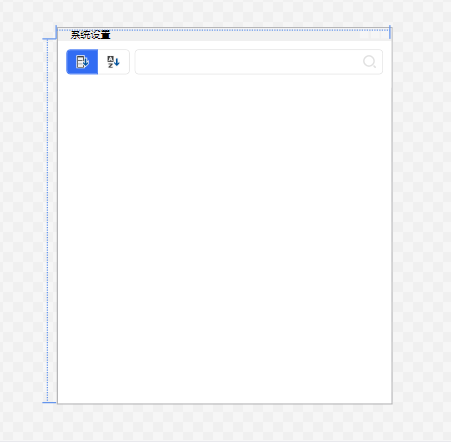
下面新建一个设置界面。我们新建一个SetupView。
添加引用:xmlns:hc="https://handyorg.github.io/handycontrol"
<Grid><StackPanel><hc:PropertyGrid/></StackPanel></Grid>
这样,空白的属性编辑器就新建完成了。我们还需要绑定ViewModel,这个大家自行操作试下,基本功了。
<Button Content="" FontFamily="/Resources/Fonts/#iconfont" FontSize="25" Height="auto" BorderThickness="0" Command="{Binding SetupCommand}"/>private ActionCommand setupCommand;public ICommand SetupCommand => setupCommand ??= new ActionCommand(Setup);private void Setup(){SetupView setup = new SetupView();setup.ShowDialog();}
internal class SetupClass{[Category("系统设置"),DisplayName("显示设备开关")]public string IsShow { get; set; }}
将类型绑定到PropertyGrid。
<Grid><StackPanel><hc:PropertyGrid SelectedObject="{Binding SetupProperty}"/></StackPanel></Grid>
public SetupViewModel(){SetupProperty = new SetupClass();}private object setupProperty;public object SetupProperty { get => setupProperty; set => SetProperty(ref setupProperty, value); }

public enum State{开,关}internal class SetupClass{[Category("系统设置"),DisplayName("显示设备开关")]public State IsShow { get; set; }}